How to connect one Shopify store to multiple Webflow sites
Storesynk lets you connect one Shopify store to up to five Webflow projects. Each connected project has its own Storesynk installation settings and its own product sync, while products, inventory, customers and checkout stay in the Shopify store.
A Storesynk storefront is the connection between a Shopify store and a Webflow project. A Shopify store can have up to five storefronts, so one Shopify store can power up to five Webflow sites. Each connected Webflow project has its own Storesynk installation, its own settings and its own product sync. Products, inventory, customers, orders and checkout stay in the Shopify store.
Common use cases are a retail site and a wholesale site, one site per brand in a multi-brand store, regional sites with different content and a staging project next to the production site.
In this guide you are going to understand:
- How to connect an additional Webflow project to your Shopify store
- How to set up Storesynk on the newly connected project
- Which settings are shared between projects and which are configured per project
- How to manage the connections of a store
① Before you start
- Your Shopify store is connected to a first Webflow project and Storesynk is installed on it. If not, follow the installation guide first.
- The additional Webflow project exists in a Webflow workspace that you can authorize. It can be empty.
② Connect an additional Webflow project
Storefronts are managed in the Storesynk Shopify App.
- Open the Storesynk Shopify App in your Shopify admin.
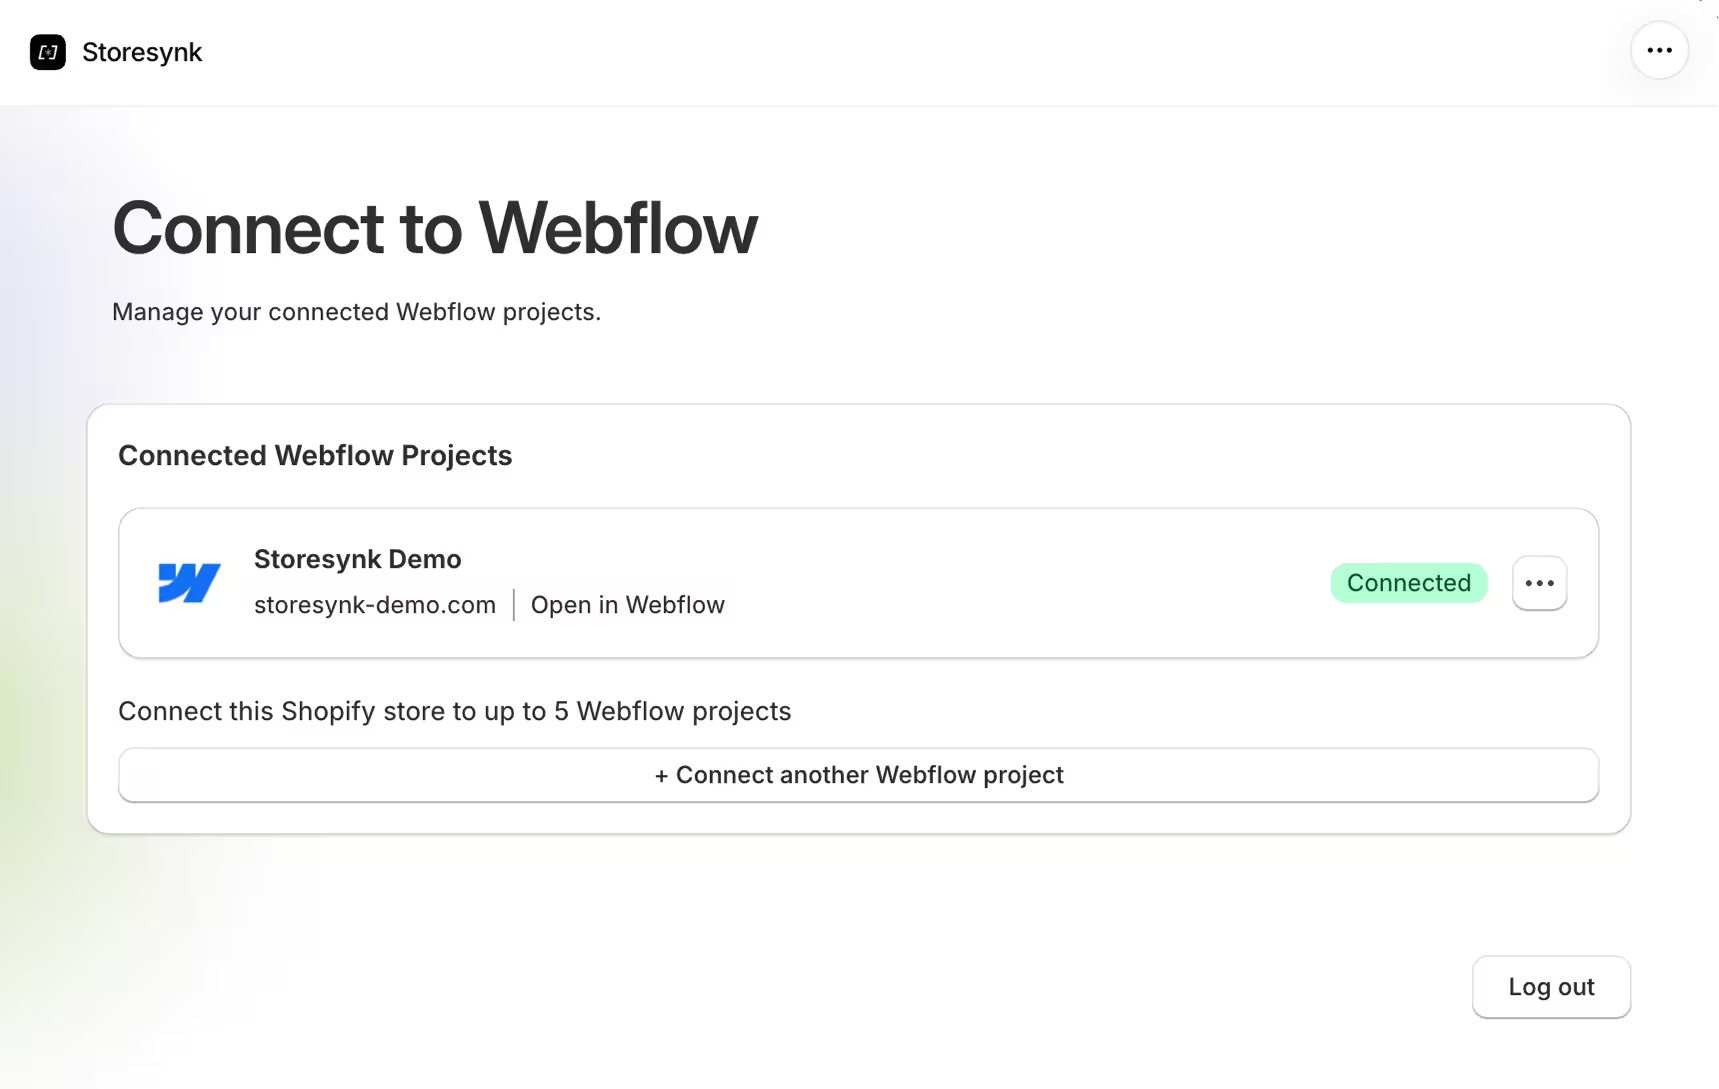
- Click + Connect another Webflow project.
- In the Select Webflow Project window, select the project from the list of sites in your authorized Webflow workspaces. If the project belongs to a workspace that is not authorized yet, click + Add New Webflow Project and authorize Storesynk in Webflow. The refresh icon reloads the list.
- Click Connect to this project.
The project is added to the Connected Webflow Projects card with its domain. Storesynk uses the site's published custom domain when there is one, otherwise its webflow.io domain. A Webflow project can be connected to the same Shopify store only once.
③ Set up Storesynk on the new project
The setup is the same as on your first project.
- Open the project in the Webflow Designer and open the Storesynk Webflow App.
- Select your Shopify store in the store dropdown at the top right.
- If the app shows This Webflow project is not connected to a Shopify store, verify that the project is listed in Connected Webflow Projects in the Storesynk Shopify App and click Refresh.
- Go to Installation and enable Auto-install.
- Go to Import & Manage Shopify Data and configure the product sync for this project. The sync is independent from the other projects of the store. To sync a subset of the catalog, see How to sync only selected Shopify products to Webflow.
- Save & publish your site.
Shared and per-project settings
The following are shared by all projects connected to a store:
- Products, variants, prices, inventory and collections
- Customers, orders and checkout
- The launch token (a.k. storefront API key or storefront public access token)
- Wholesale catalogs and customer groups
The following are configured per Webflow project:
- Product sync: CMS collections, synced fields, collection and tag filters, excluded products, auto-sync and synced locales
- Installation settings: Storesynk version, auto-install, currency format and product page path
- Advanced tracking settings
- Customer accounts settings and gated pages
- Domains
Tracking and customer accounts settings are not copied between projects. Configure them on each project where you need them.
Managing connections
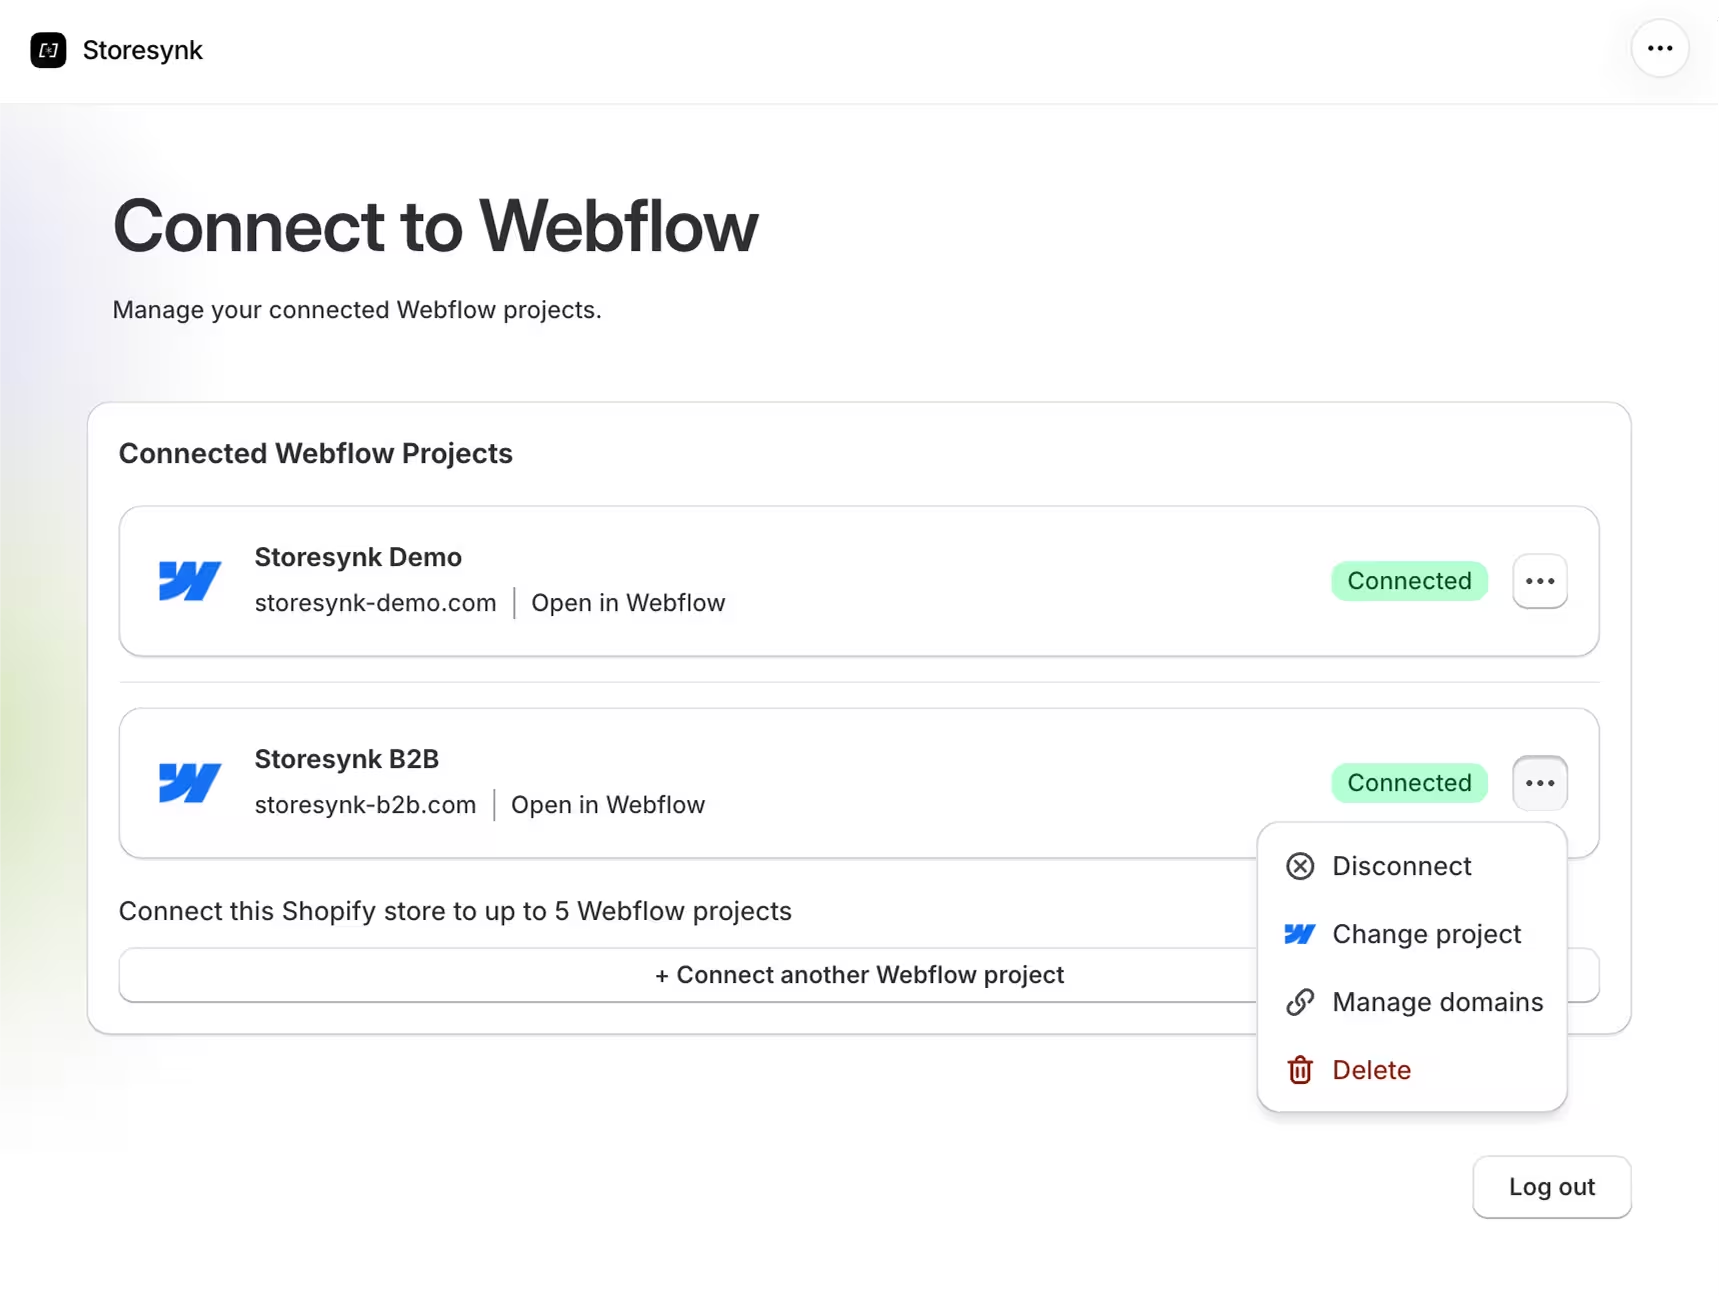
Each project in the Connected Webflow Projects card has the following actions:
- Disconnect and Connect pause and resume Storesynk on the project. The connection and its sync settings are kept.
- Change project moves the connection to a different Webflow site.
- Manage domains adds secondary domains to the project, for example a www version or an additional custom domain.
- Delete removes the connection, the project's product sync and the Storesynk code that was auto-installed on the site. CMS items stay in Webflow and are no longer updated. The last connection of a store cannot be deleted.